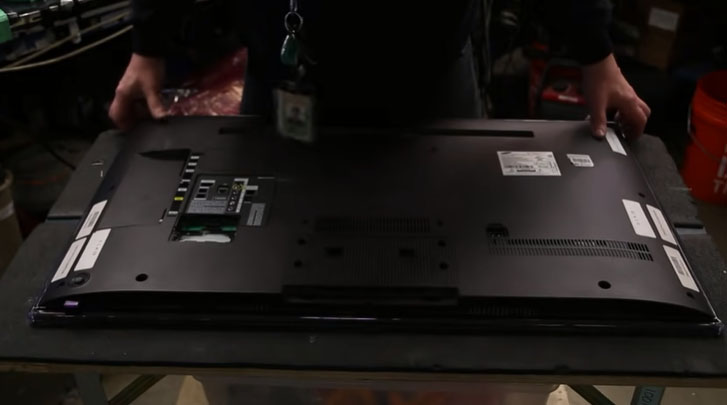
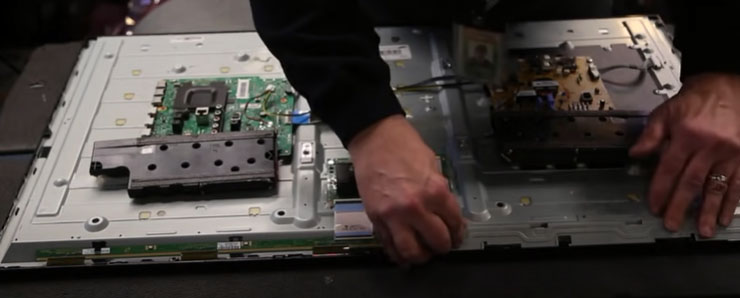
samsung tv strip replacement: In This article we will show how to replace the LED Strips in Samsung TV Step 1: For Removing the Back side Cabinet, you have to disconnect the cable that is underneath remove the screws and the back cover off the TV and Open the Back Cabinet from the TV. Contact Us For Samsung LED TV Strip Replacement
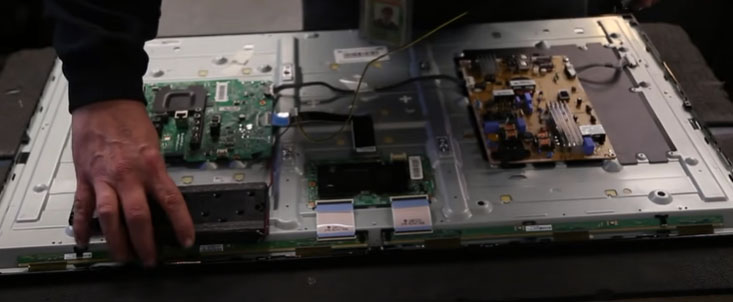
Step2: Disconnect the speakers from the Main Board

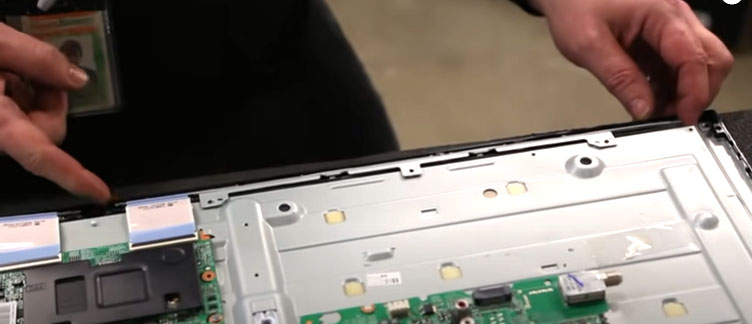
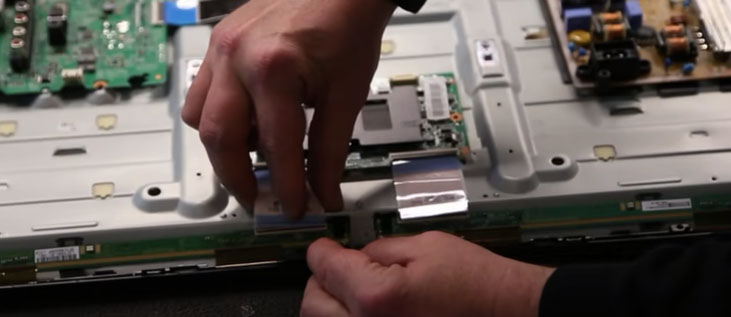
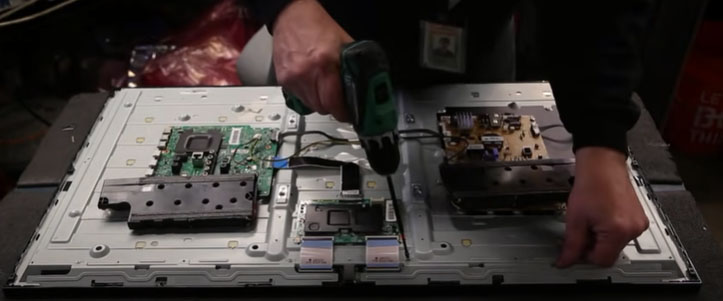
Step3: Disconnect the Ribbon Cable from the scan drive board

Step4: Remove the covers over the scan drive boards
Step 5: Release the scan drive boards from the clips
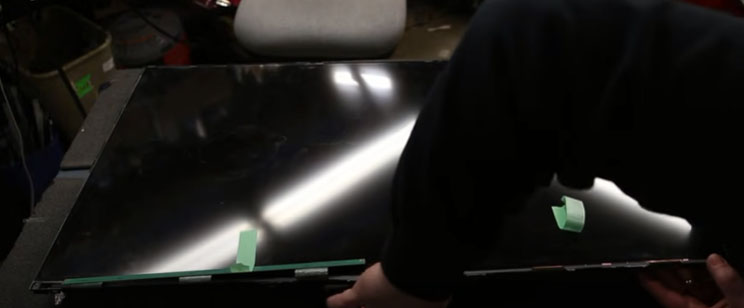
Step6 : Remove the panel frame
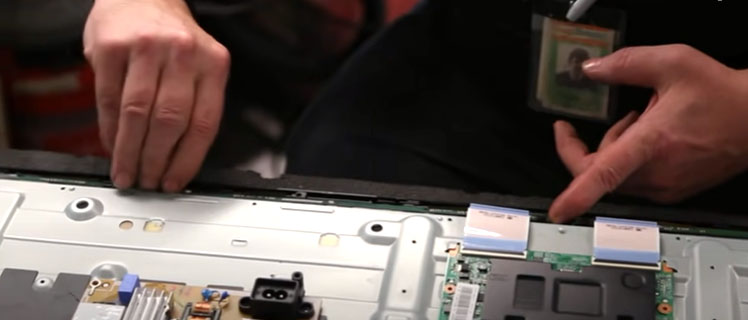
Step 7: Flip up the scan drive boards and tape them to the TV Panel
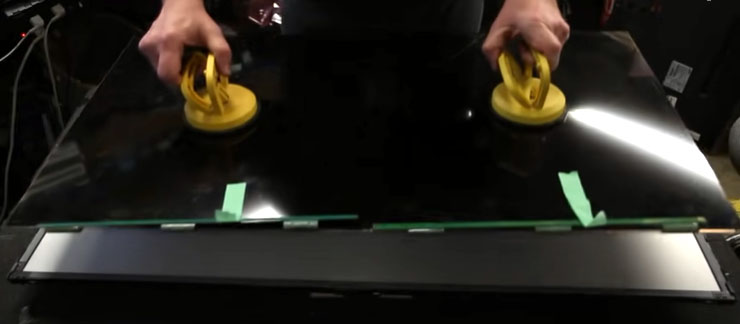
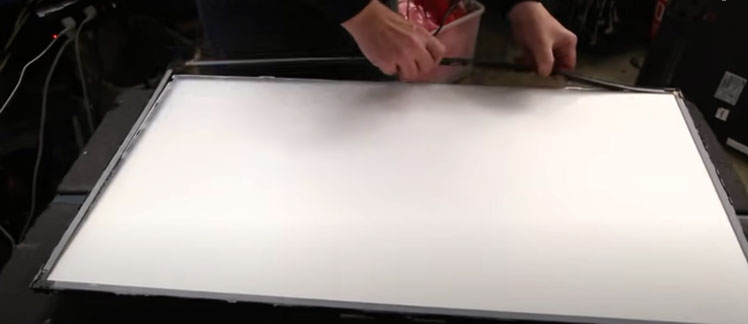
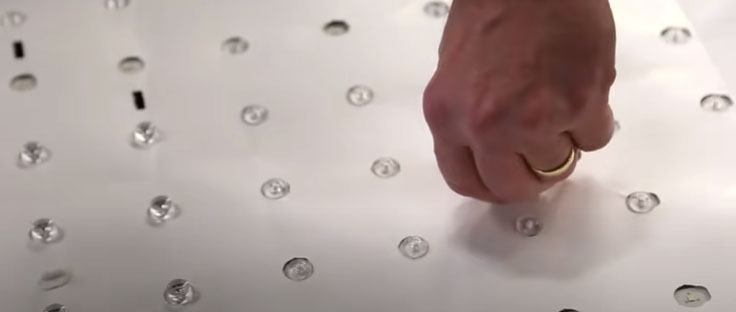
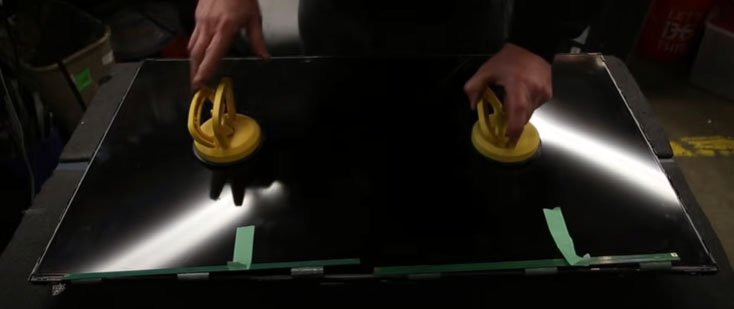
Step 8: Using suction cups lift and remove the panel
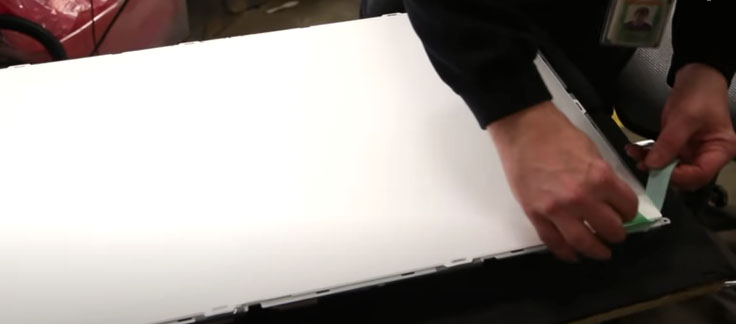
Step 9: Remove the filter frame around the TV
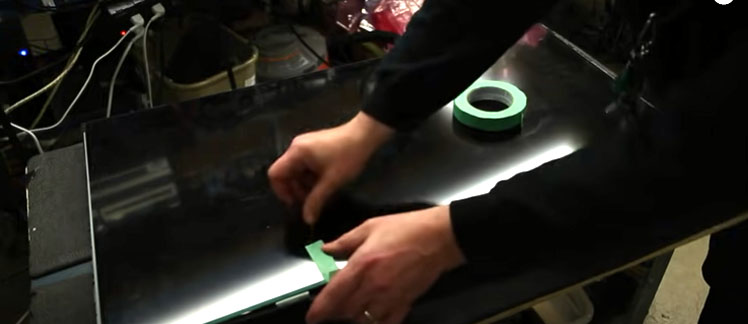
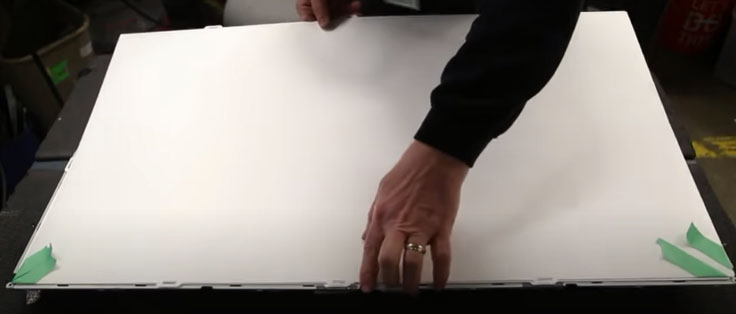
Step 10: Tape the corners of the filters and then Remove from the TV
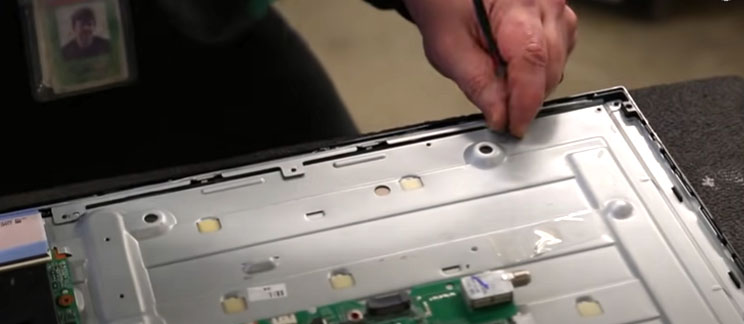
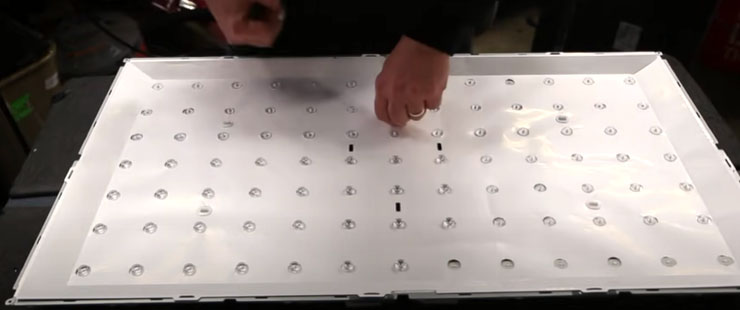
Step 11: Remove the tabs that hold the reflector sheet to the chassis
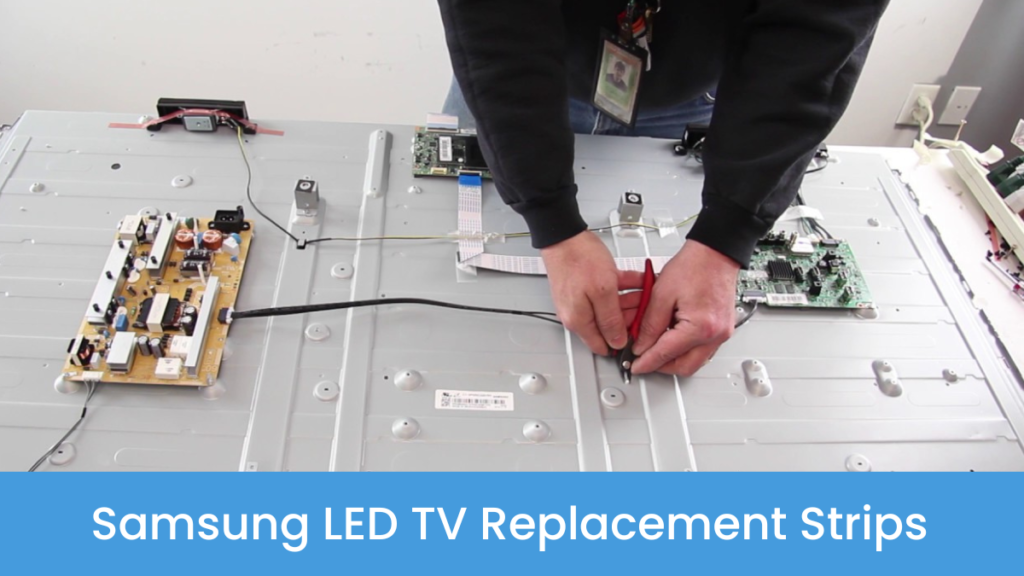
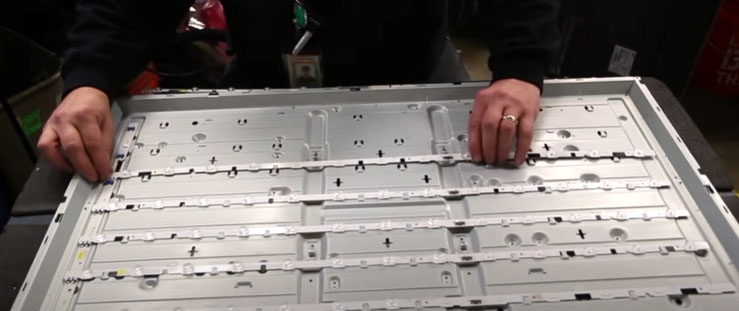
Step 12 : Remove the LED Strips from the chassis and disconnect them on the ends at the connection. Take the strips separately need to be replace.
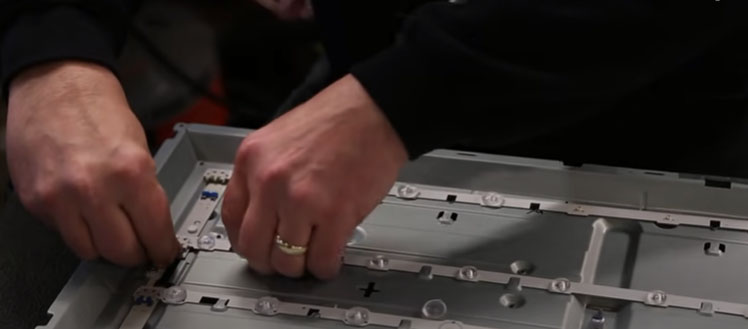
Step 13: Take the replacement strips and slide them into the tabs and connect them through the power on the end.
Step 14 : Reinstall the reflector sheet once you completed all samsung led tv strip replacement are replaced

Step 15: Reinstall the clips that hold the reflector sheet to the chassis
Step 16 : Reinstall the filters
Step 17: Reinstall the filters frame
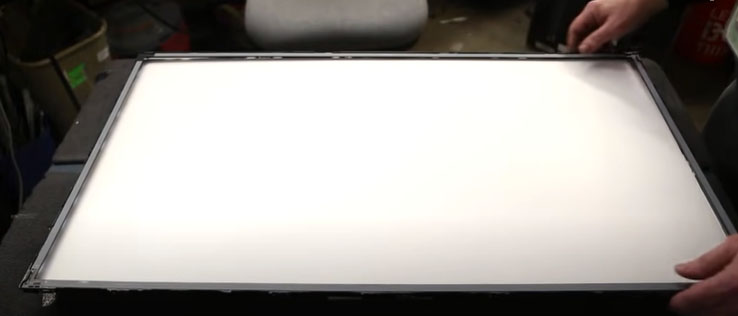
Step 18: Reinstall the TV Panel
Step 19 : Realign the scan drive boards back in the position
Step 20 : Reconnect the ribbon cables to the scan drive
Step 22: Reconnect the speaker to the mainboard
Step 23: Install the scan drive board covers
Step 24: Fix the screw on the scan drives
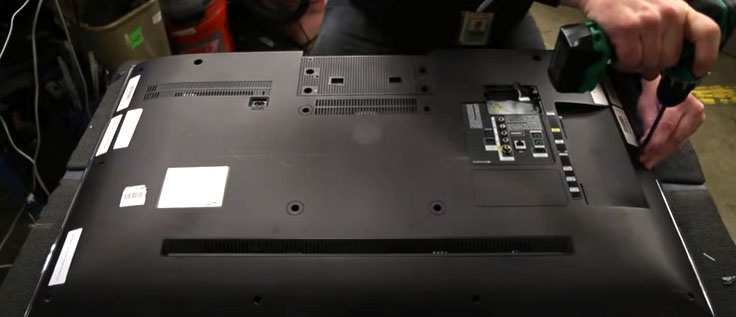
Step 25: Reinstall the back cover and secure it to the chassis using screws